 Remodelaholic DIY Rustic Farmhouse Bench Tutorial
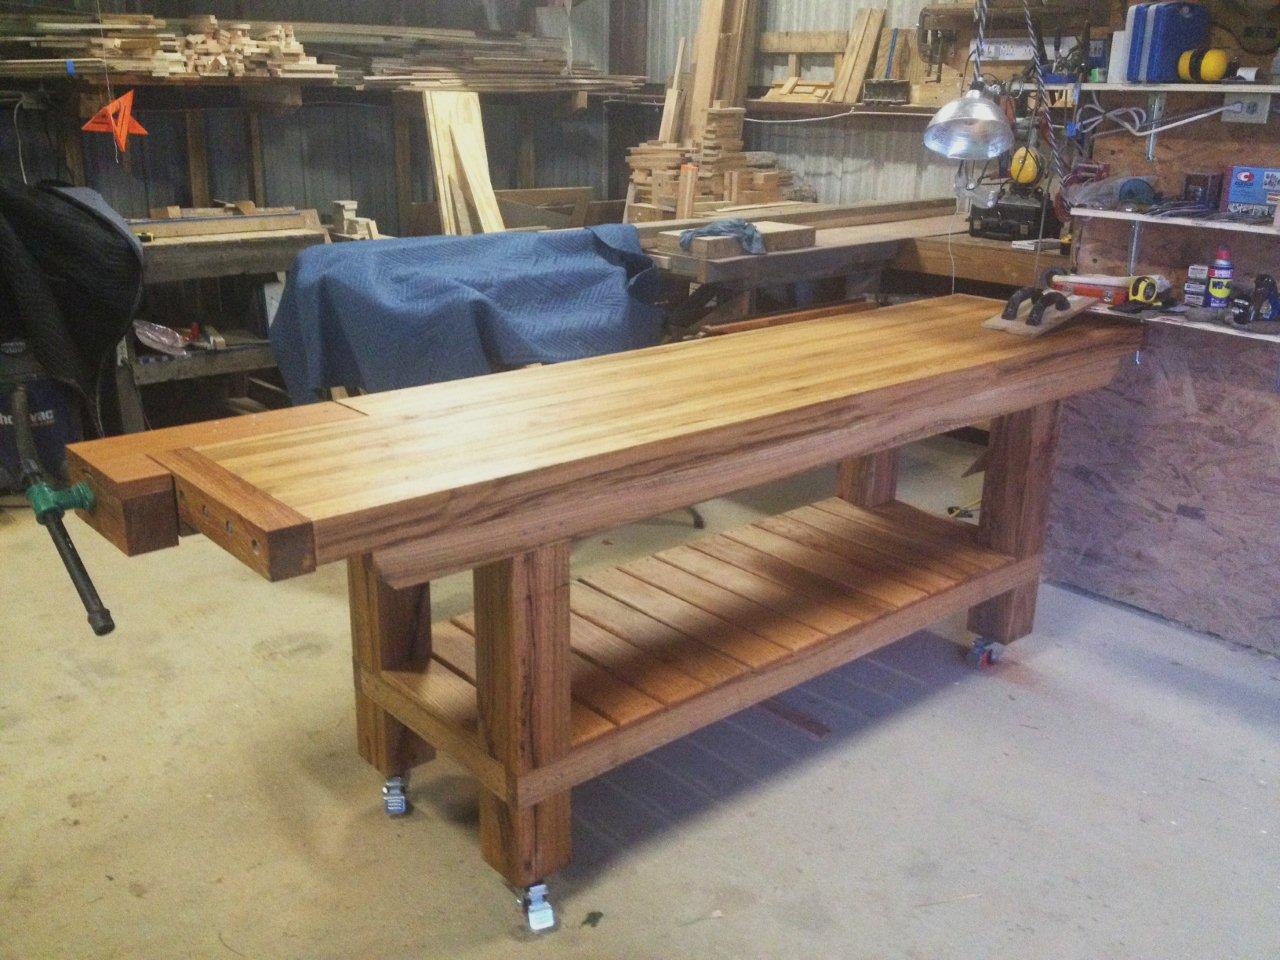
Workbench Endcaps. With the tail vise assembled I can now finalize the endcaps on the front slab and install the half blind dovetailed front strip into the slab. I depart from what most people do for endcaps because I am wanting to build up a few more inched in length. I double up the end caps. A. The idea of end caps is indeed a bad idea in North America where we have wide humidity and therefore wood MC extremes. Our use of central heating is a real problem. However, recognizing that drying out and shrinkage is often a bigger problem than rewetting and swelling , if the wood is very dry 6.0 MC , you will have less of a problem.
Option 1. The original Benchcrafted version features a beautiful massive dovetail. The dovetail is glued to the end cap and the slab tenon is secured to the end cap using bolts. The back bolt is in an elongated hole so the top can expand and contract. A well thought out design to be sure, but there was one thing that bugged us.. you ll have to adopt in any serious solid wood furniture building. If you use common lamination methods today, and dry wood, flatness shouldn t be a major issue and the end caps become a structure and aesthetic decision. A bench with a flat slab top is certainly easier. If you want 4 skirts all around, you pretty much have to use the
Higher quality benches dress the top ends with end caps. Sometimes featuring dovetails or box joints and one or more bolts, end caps help keep the top flat and cover the end grain while allowing the top to expand and contract across its width. Some woodworkers find a tool well handy for containing frequently used items.. We also wanted this bench to be a project that most woodworkers could build using tools found in an average small shop: tablesaw, portable planer, crosscut saw, router, drill press, and hand tools. The Workhorse bench combines the best of the old and the new End caps, 13 4 in. thick by 6 in
It was not a pretty bench and it was not really a great bench, but it was the only bench I had. As my woodworking improved and I started using more and more hand tools, I started to realize that my thrown together bench was not good enough. Planing was particularly a pain. First, there was no good way to hold a board while planing.. WORKBENCH WOODWORKING: Massive solid top, endless bench dog holes, 6 full depth draws, 2 full depth cupboards, 1 end vice, 1 normal vice. THIS IS THE 7th THING IVE EVER MADE. originally i purchased a plan from RON PAULK, a portable work bench. but changed the design
 Floating Breadboard Ends on a Workbench - by David White
 Left Handed Roubo Workbench - by Douglas @ LumberJocks.com
 Workbench - FineWoodworking
 Oak Workbench
 Workbench Build - Splayed leg French Bench 10: End Caps
 Workbench Build - Splayed leg French Bench 11: 2nd End
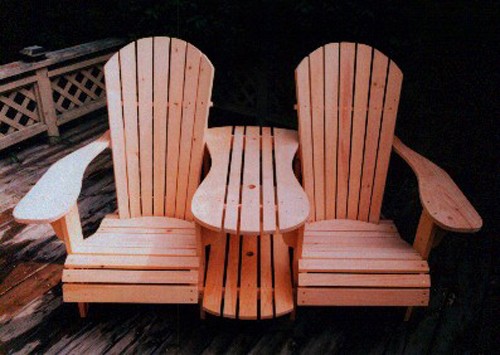 Standard Size Adirondack Chair Settee Kit Plan
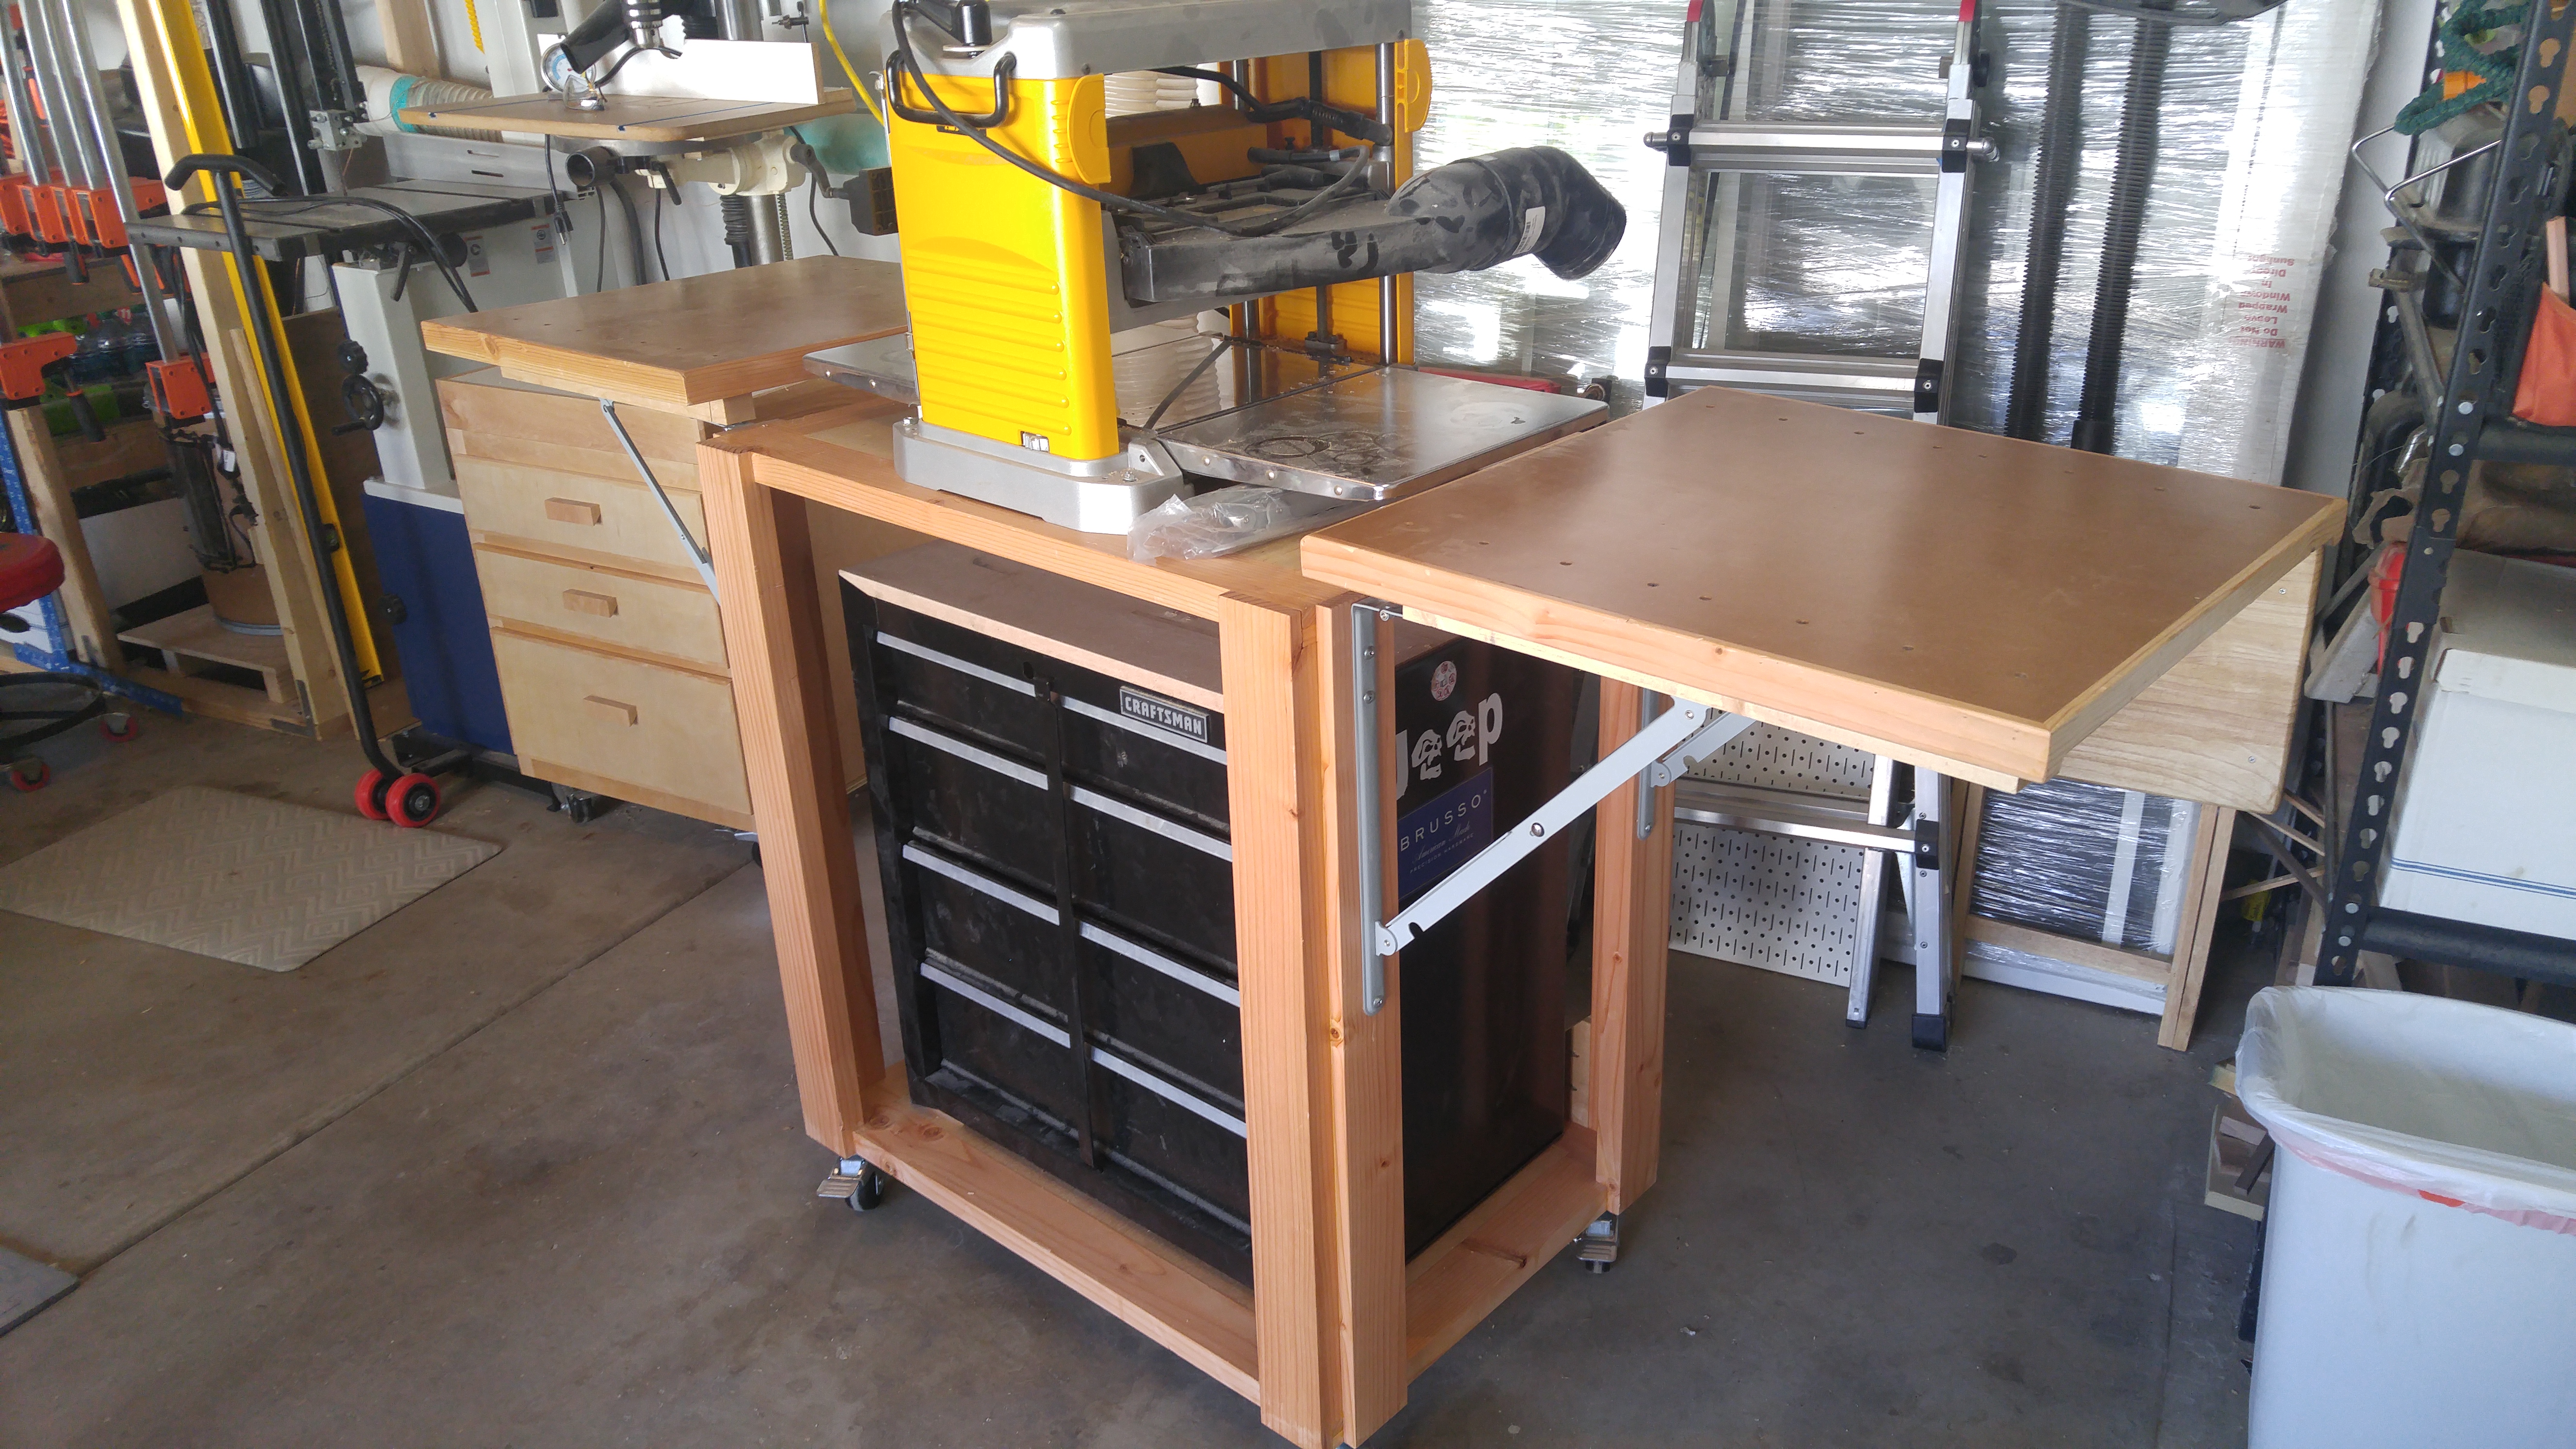 New Rolling Planer Cart - BeauBilt
 Workbench Build 6: Still working on the top - by JL7